Defining groups and assigning controls
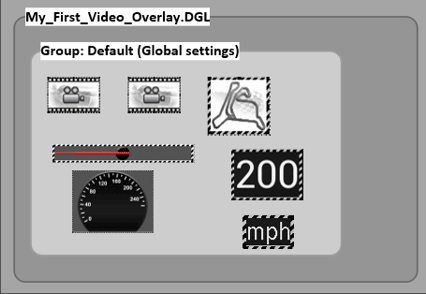
The overlay you designed in the part 1 of this guide consist of the following objects;
- Controls
- The ōDefaultö group (note that the all controls you added to the overlay automatically get assigned to the ōdefaultö group)
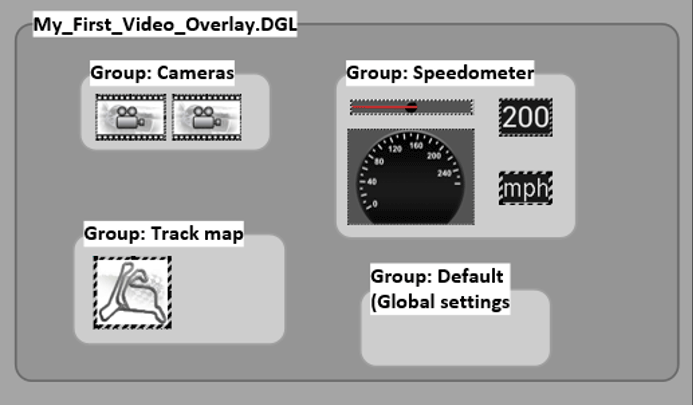
Groups help you to arrange logically related controls together. LetÆs define three more groups and change the structure of the overlay as follows:
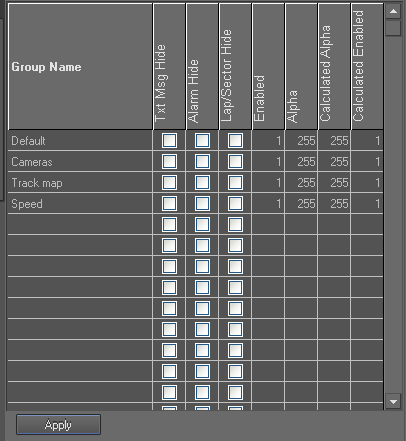
1. Click on the second row of the ōGroup definition panelö and type ōCamerasö.
Then repeat the same to add two more groups starting from third row:
Remember to click the ōApplyö button at the bottom of the ōGroup definition panelö to add (save) these groups to your design.
2. Change the ōGroupö properties of the controls as follows:
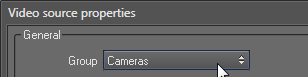
a) Change group property of two video source controls to ōCamerasö
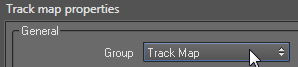
b) Change group property of track map to ōTrack mapö
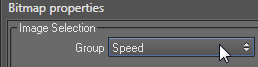
c) Change group property of image needle bitmap and speedometer background bitmap to ōSpeedö
d) Change group property of digital display to ōSpeedö
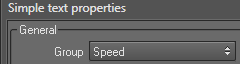
e) Change group property of simple text to ōSpeedö
f) Save the overlay file.
3. Open the ōVideo overlay designerö (using the launcher shortcut  under ōVideo Softwareö category or using the ōCustomise overlayö
  button in Video export dialog)
Then switch to the screen that you assigned your overlay.
button in Video export dialog)
Then switch to the screen that you assigned your overlay.
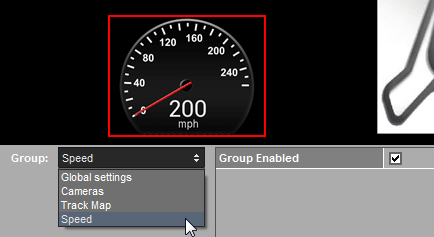
Now there should be four groups listed in ōGroupö drop down including the ōGlobal settingsö (default group).
Each group has a single property called ōGroup Enabledö. You can use this property to show/hide all controls belongs to a group in the exported videos.