Registering a DLL under windows 2000 and XP
The following is a simple application note with instructions on how to register a DLL under Windows XP. Note that on some PC’s the procedure might be slightly different depending on the machine’s configuration. In particular there are complications when registering under “Windows Vista” – if you are using “Windows Vista” please refer to Race Technology for more information.
Before registering a DLL there are 2 important facts that you must know:
• The name of the DLL you wish to register
• Where on the PC the DLL must go
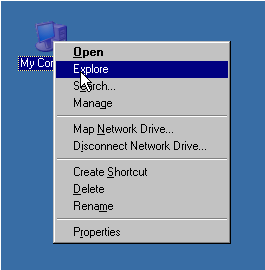
Step #1. Open a windows file explorer, by right clicking on “My computer” and selecting “explore”.
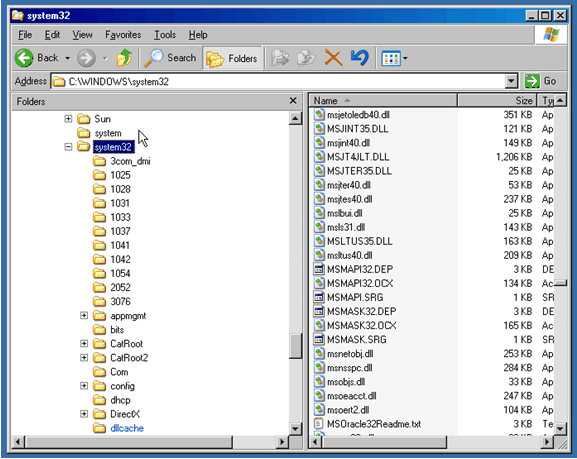
Step #2. Navigate to the directory where you wish to put the DLL. In this example we have gone to the “C:\WINDOWS\system32\” directory.
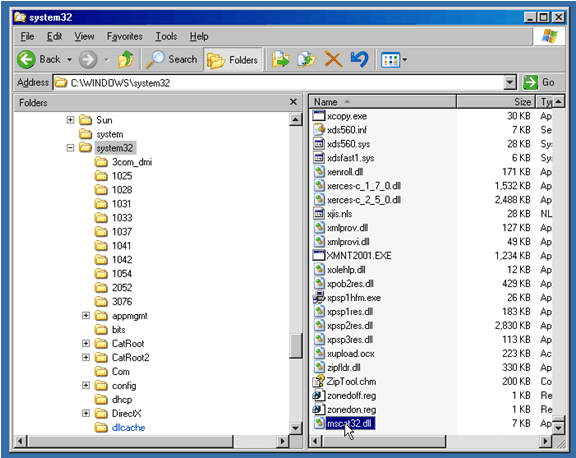
Step #3. Drag and drop the DLL into the directory as required, note that you must place a copy of the file into the directory – not just a shortcut to the file. In this example we have just dragged and dropped “mscat32.dll” from the desktop to the “C:\WINDOWS/system32” directory
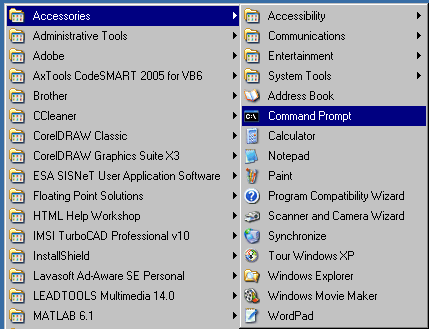
Step #4. With the DLL now in the correct directory, the next step is to open a command prompt window. This is down by going to the windows start menu -> accessories ->Command Prompt.
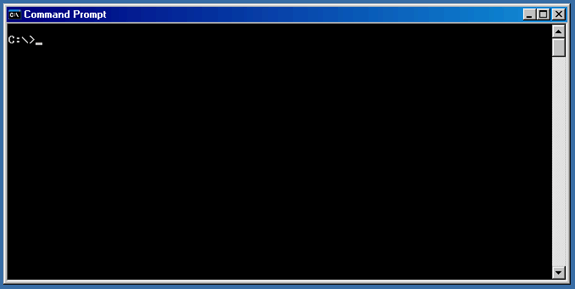
Step #5. The window that opens will look something like this, although the actual directory that comes up maybe different to that shown.
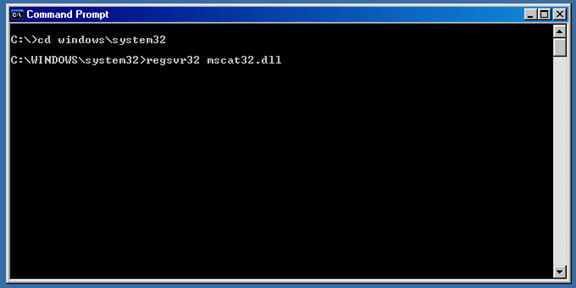
Step #6. Using the dos command “cd” navigate to the directory that contains the DLL you wish to register. In our example we enter “cd \windows\system32”. Once in the correct directory, enter the command to register the DLL. The command is “regsvr32” followed by the DLL’s name, in this case we’ve entered “regsvr32 mscat32.dll”.
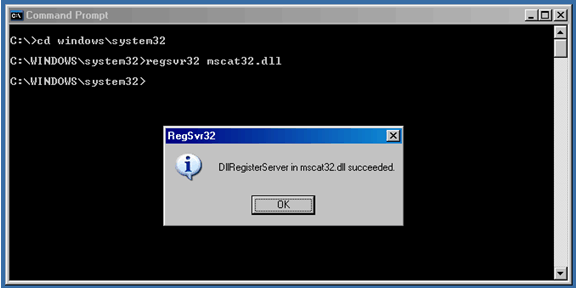
Step #7. Assuming that the registration works you will get a confirmation message.

