How Do I - Connect A Start / Stop Logging Switch
With Indicator To The DL1 CLUB?
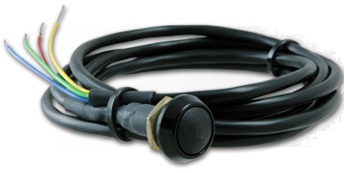
The start / stop logging switch provides the driver with the option to start logging, without having the press the start / stop logging button on the DL1 CLUB itself. This can come in handy when the data logger is installed a vehicle but out-of-reach for the driver, such as in the passenger side footwell. Installing the DL1 here is ideal for levelling the unit but makes it impossible to press the start / stop logging button on the unit, if the driver is fully harnessed into the car. The start / stop logging switch solves this problem & comes with a built in light that illuminates when the switch is active.
Step 1
Purchase a start / stop logging switch with indicator from Race Technology - https://www.race-technology.com/gb/racing/products/accessories-and-spares/switches/switches_external-stop-start-button:
Step 2
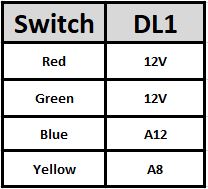
Connect the switch, it has four wires that need to be connected as follows:
Step 3
Configure the DL1 CLUB to use the start / stop logging switch.
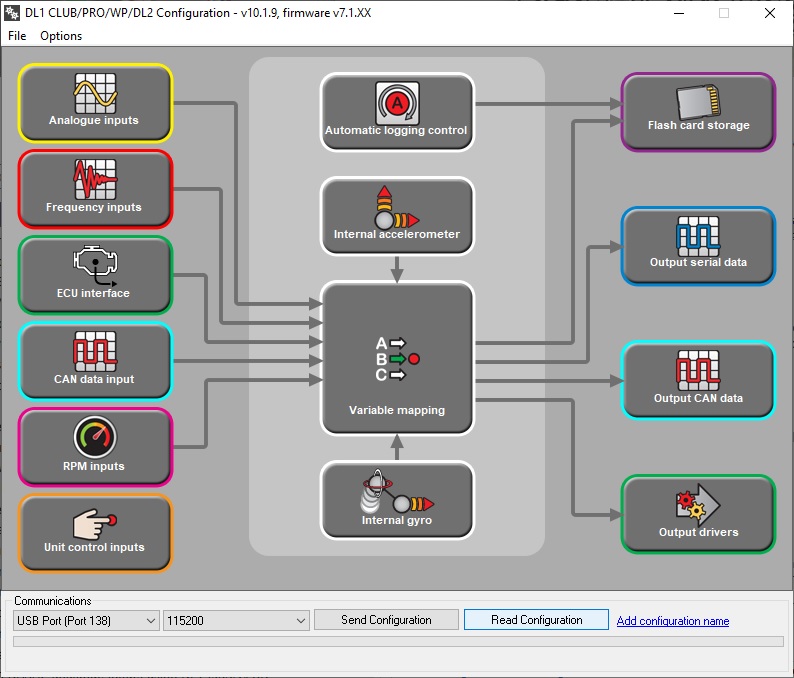
1) Connect the DL1 CLUB to the PC, power up the unit & read the configuration back from the data logger using the DL1 CLUB configuration assistants Read Configuration button:
2) Open the Unit Control Inputs section of the configuration assistant & set it up as follows:
3) Open the Output Drivers section of the configuration assistant & set it up as shown below:
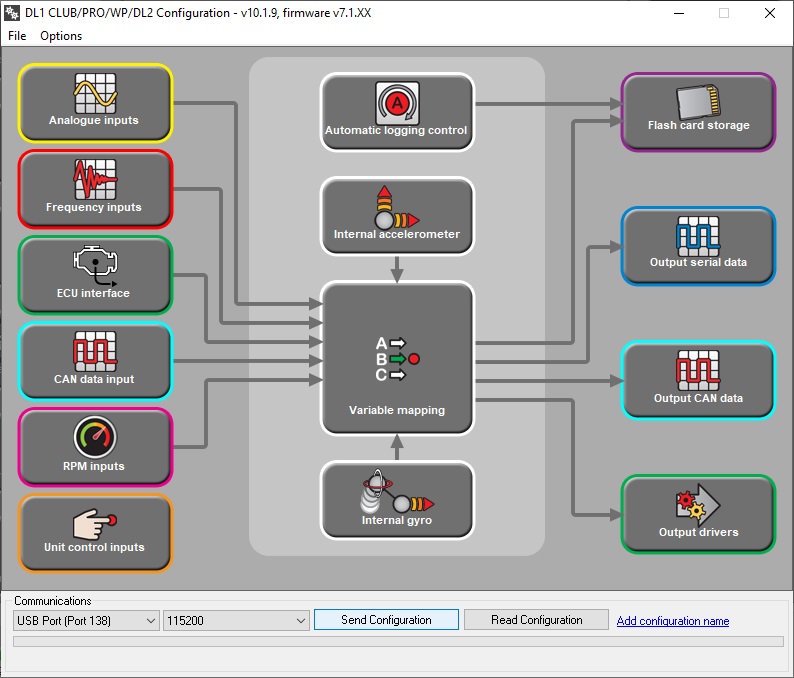
4) Send the new configuration to the DL1 CLUB, using the configurations assistants Send Configuration button:
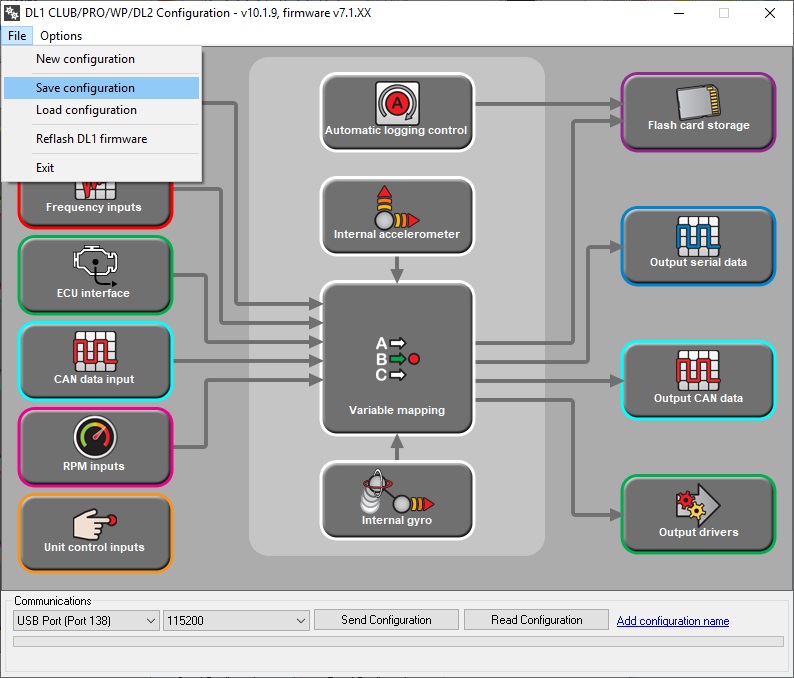
5) Save the configuration to the PC, so there is a back up copy. Go to File & Save Configuration:
Alternatively, the operator can save the updated DL1 CLUB configuration file to the memory card & upload it from there. To do this insert the card into the unit, whilst it is turned off. Power up the data logger & the new configuration will be uploaded from the card.

