Variable Manager
The variable manager allows you to control and edit the variables the program uses. The most common uses of the variable manager include:
- Setting units, for example kph or mph for speed
- Controlling filtering, for example to reduce noise on a temperature sensor
- To control which variables are active and available in the rest of the software
- For carrying out more complex tasks with user defined equations, also known as maths channels on other systems
You can load the Variable Manager by going to "Data > Variable Manager" or by clicking the  button on the toolbar.
When you open the Variable Manager, the following window will pop up:
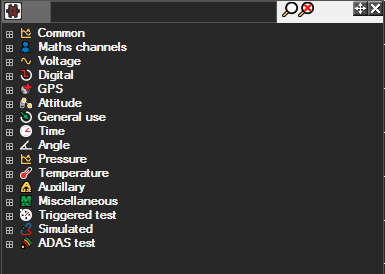
- Common these are the most commonly used variables in the software
- Maths channels these allow you to calculate your own variables based on the ones that already exist with the analysis program, for example the difference between 2 other variables.
- Voltage these are voltage inputs from external sensors that are not converted/mapped to other channels
- Digital these are frequency inputs from external sensors that are not converted/mapped to other channels
- GPS these are the variables form the GPS system
- Attitude these the variables with altitude values
- General use holds all the general variables
- Time these are the variables with time values
- Angle variables which holds angle values
- Pressure these are all the variables related to pressure
- Temperature these are all the variables related to temperature
- Auxilliary these are the auxilliary variables used in the software
- Miscellaneous other variables
- Triggered tests
- Simulated these are the variables that analysis software calculates based on the users simulation setup
- ADAS tests
Enabling and disabling variables
In the analysis software it is possible to have 500+ variables at any one time, however, while in some applications this is required, for most applications far fewer variables are needed. The more variables that are active in the software the longer the list to select from in all the objects, and generally the less friendly the software is to use so generally it is desirable to activate only the variables that are really required.
There are 2 different ways to enable variables. They can either be automatically enabled when they have data, or they can be manually activated. Whether variables are manually or automatically activated is set under the General Options tab, in analysis options.
Note that if variables are automatically enabled, then it is not possible to activate and deactivate variables from the variable manager.
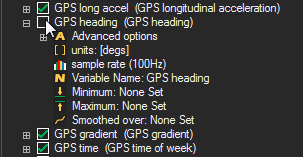
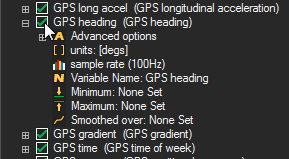
If variables are set to be manually controlled, then click in the box by the variable name:
A tick indicates that the variable is active and it will be available for use throughout the software.
Variable setup
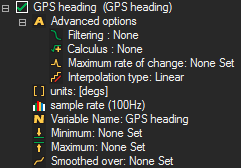
For almost every variable on the list, the options you can edit are the same:
Clicking on the particular variable property brings up the relevant dialog box so the property can be edited. For example clicking on sensor type/units allows the units for that variable to be edited.
Standard variable options
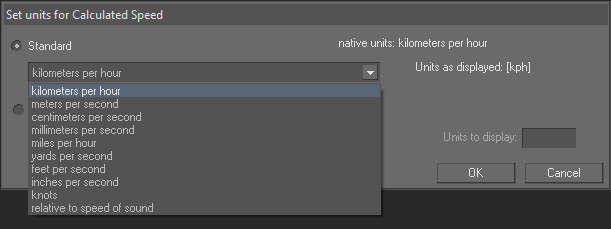
Sensor type/Units
The more basic options include the units the variable is measured in;
For example on the speed variable you can select whether to display speed in mph or kph. Native units are displayed on the side.
There is also the facility for a custom transformation which typically allows the user to enter a particular formula to convert from the native units.
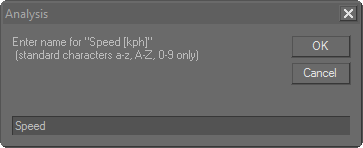
Variable Name
the naming of the variable (how it's displayed in the lists etc);
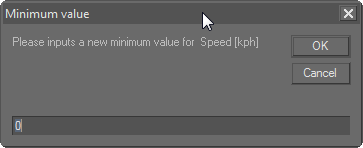
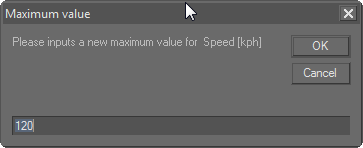
Minimum and Maximum
the maximum and minimum values (i.e. simply removes or limits all data above and below set thresholds. For example, if you have defined a user variable of "throttle position" in the software, then the upper limit might be set to 90 degrees and the lower limit to 0 degrees, so if there is a large noise "spike" on the data then it will be mainly ignored during analysis. Another obvious application would be to limit engine speed to between 0 and the rev cut-off point to remove any superfluous spikes.);
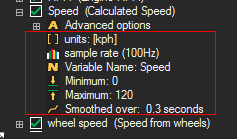
Smoothed over
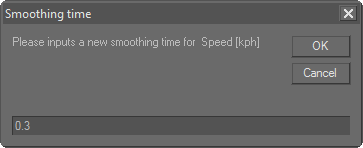
The Smoothed over option will allow you to set a time for the program to smooth over. Please note, that this will not create any lag on the smoothed values. The value you enter for the smoothing will be a time, the smoothing will be done by averaging the values half this time before and half this time after the point the software is working out. Please note that if you enter a large value, this will become slightly inaccurate.

 button on the toolbar.

