Combining Live Monitor graphics overlays with live videos using OBS Studio
Using the OBS Studio software (OBS) you can capture the Live Monitor software's data graphics overlays and combine them with live video feeds for streaming or recording.
OBS allows you to add several different kinds of sources which can be combined together to generate videos. In this guide we use couple of those sources; "Video capture device" and "Display capture".
- Video capture device source examples
- Video capture card which takes live video feed from racing car(s).
- Webcam connected to a computer
- Display Capture source
- This allows us to capture everything that is on a selected computer screen. In this guide we are going to capture a maximised video graphics overlay window.
Following guide describes only the settings needed to add a graphics overlay on top of a live video. It doesn't contain any additional details/settings that may be required for your streaming or recording application.
This guide was prepared using a computer with a following software and hardware configuration:
- OS: Windows 10 Professional edition 21H2
- OBS Studio: v27.2.4
- Base and Output resolutions were set to 1920 x 1080 (Settings -> Video)
- Live Monitor: v10.1.46
- Monitor setup: Dual monitors, each with 1920x1080 resolution
- Video capture device: A Webcam with 1080p resolution
Setting up the Live Monitor
1. Open Live Monitor, and connect it to a cloud connected product.
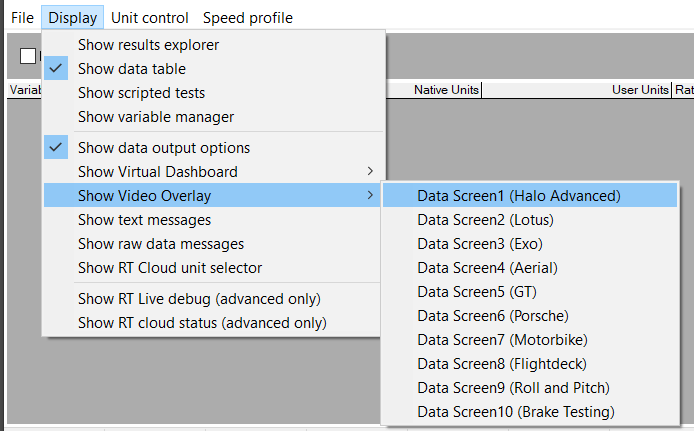
2. Open a video overlay (Display -> Show video overlay)
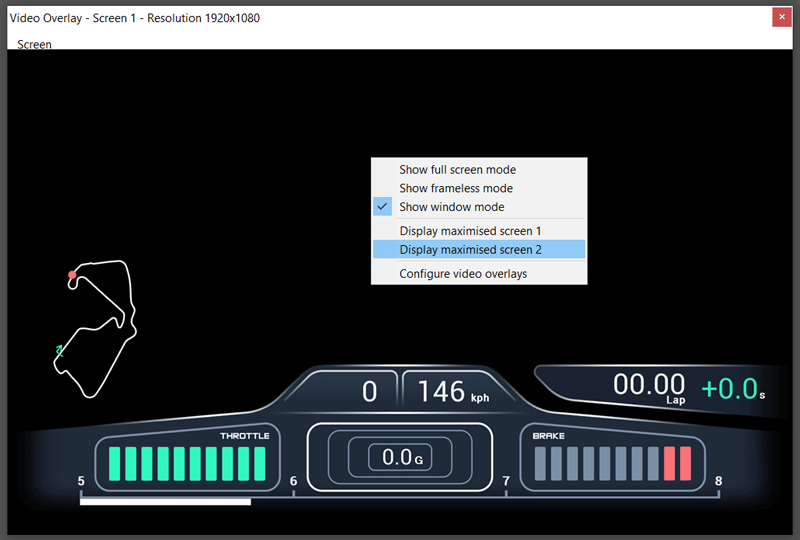
3. Right click on the selected video overlay and select the "Display maximised screen 2" option
Setting up the OBS
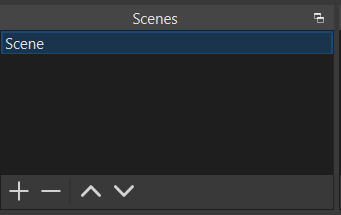
1. Adding a scene using the  button in the Scenes panel.
For this demonstration, the default scene is used which is available after a fresh installation of OBS.
2. Adding a Webcam using the Sources panel.
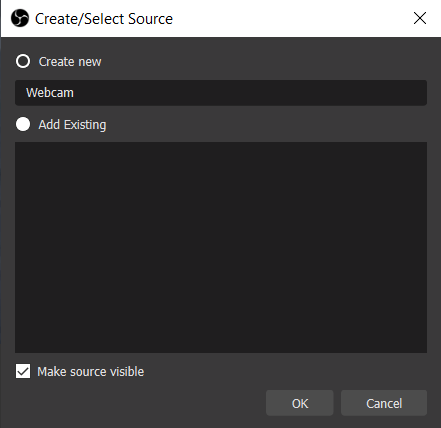
- Click the icon of the Sources panel and then select "Video capture device" menu item.
- Change the default name of the source to "Webcam" and click "Ok"
- Configure the Webcam properties if necessary and click OK to save the settings.
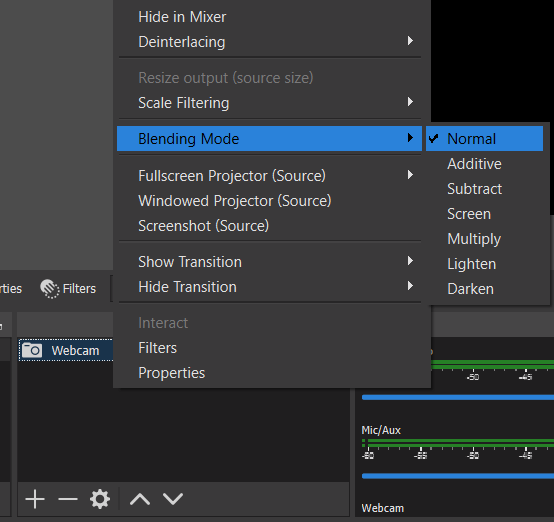
- Right click on the Webcam source and select "Normal" as the "Blending Mode"
3. Adding the video graphics overlay as a source to the OBS
In the step 3 of Setting up the Live Monitor section, we moved a video overlay window to the monitor 2 and maximised it. Let's add that monitor as a source.
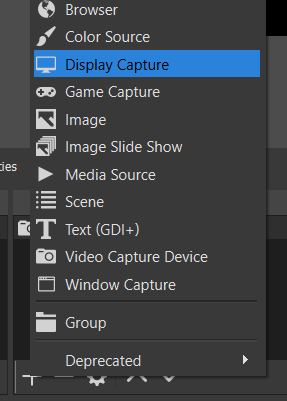
- Click the + icon of the source panel and then select "Display capture" menu item.
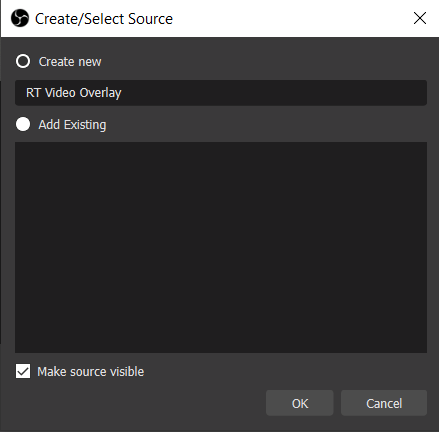
- Change the default name of the Display capture to "RT Video Overlay" and press OK.
- Select "Display 2..." option from the Display drop down list and un-select the "Capture cursor" option.
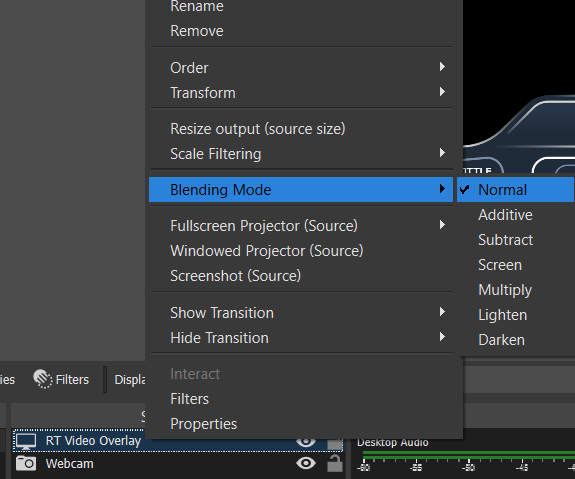
- Right click on the RT Video Overlay source and select "Normal" as the "Blending Mode"
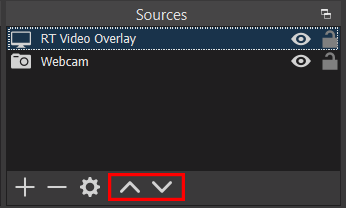
- Make sure that you place Webcam source underneath the RT Video Overlay source. You can use the move up and down buttons to place the layers in correct order.
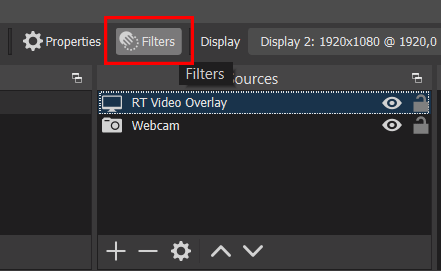
4. Removing black background colour from the RT Overlay.
- Select the "RT Video Overlay" source if not selected. Then click on the "Filters" button.
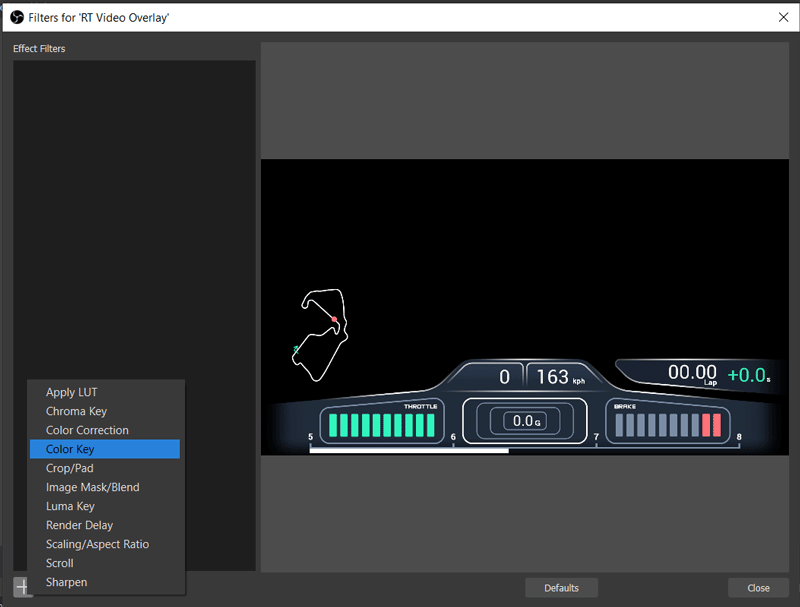
- Click the button and then select "Color key" from the list.
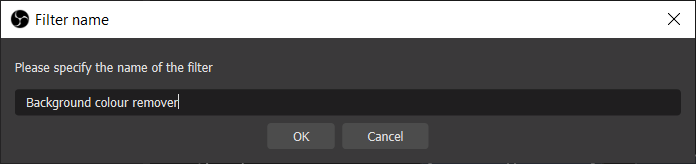
- Change the filter name to "Background colour remover" and press OK.
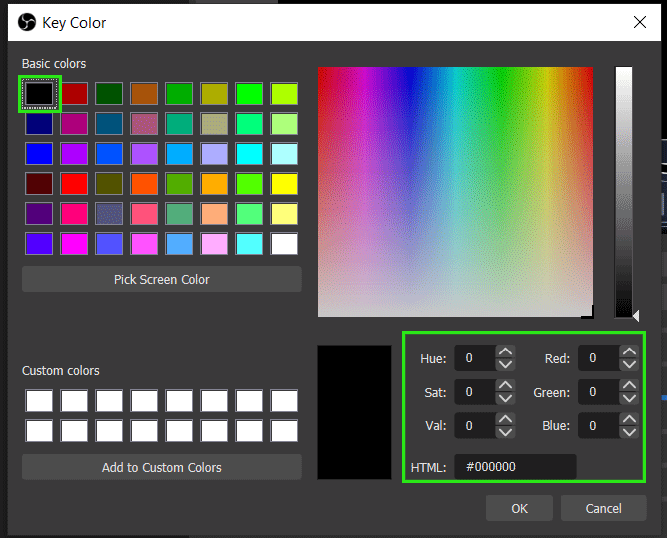
- Select "Custom color" option from the "Key color type" drop down menu.
- Click on the "Select color" button
 and then select the Black color from the "Key color" dialog and press OK.
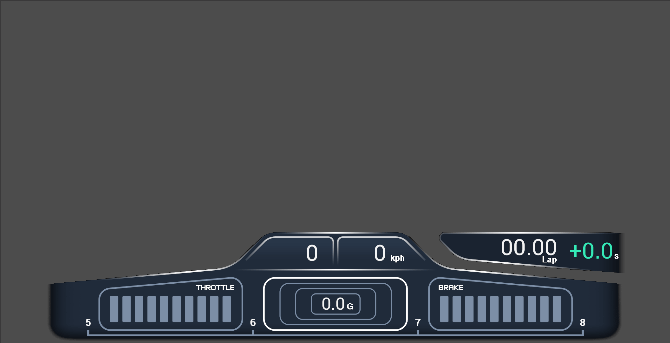
- Background of the overlay is now removed.
Press "Close" button to exit from the "Filter for RT Video Overlay" dialog.
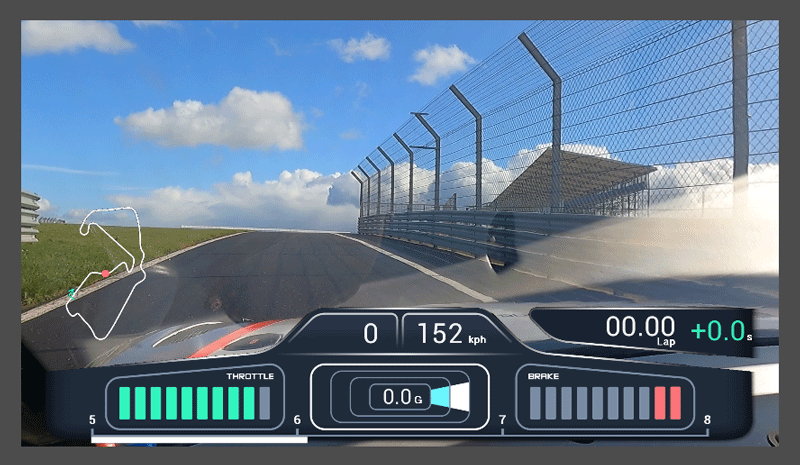
5. Now you can start streaming or recording the combined video.