How do I connect the control buttons to the DASH2?
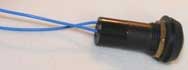
step 1: Remove the buttons from their packaging and unravel the wires. Slide the rubber washers and nuts (provided) over the wires and onto the backs of the buttons.
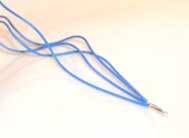
step 2: Take one of the connecting wires from each of the buttons and twist the ends together, as shown below:
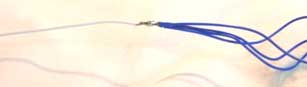
step 3: Now solder them onto the white (ground to common) wire that is on the back of the cable connector. N.B. Before soldering, slide a short section of heat shrink over the wires, so that when the operation is completed, the shrink can be drawn over the join and heated to fit. This will help to strengthen the join.
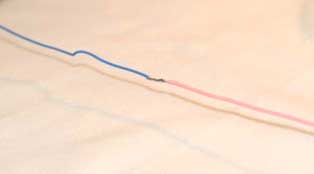
step 4: You should now have one spare wire coming from each button. Take the spare wires and solder, one each, onto the pink, orange, green and brown wires that come from the back of the connector.
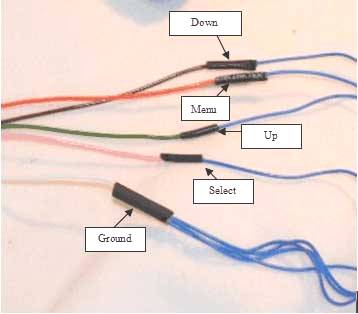
step 5: This will designate the function of the wires. The button connected to the brown wire will be "Down"; the one connected to the orange wire will be "Menu"; the one connected to the green wire will be "Up"; and the button connected to the pink wire will be "Select".
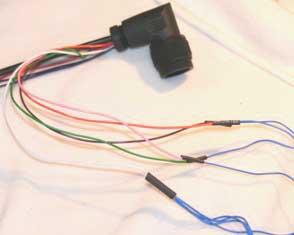
Step 6: When you have finished attaching the buttons to the connector, it should look something like this:
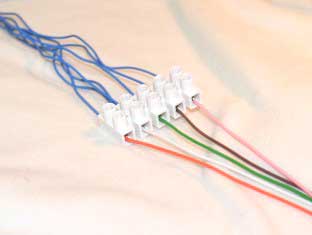
step 7: Whilst we recommend that you solder the connections, a screw block connector may be used instead, as shown below: