Adding video source controls for camera views
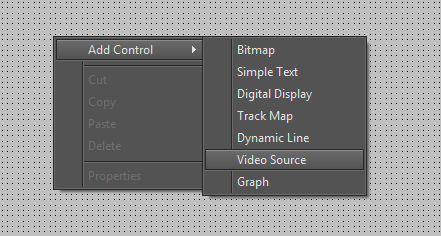
1. Adding the first “Video source” control:
- Right click on the design area to open the context menu
- Then click “Add Control -> Video Source”
2. How to change the properties of a control:
Properties of a control can be changed in two ways:
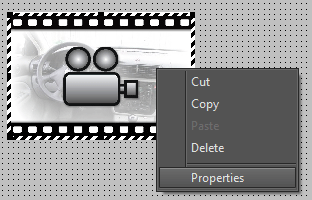
- By using the control’s properties dialog – Right click within the control and use the Context menu -> Properties.
- Using the Properties panel (View -> Property viewer)
In this example we use the property dialog to edit control properties.
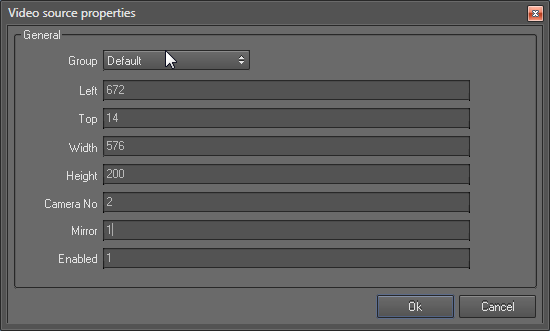
Change the property values of the Video source control as shown below.
Note: "Camera No" property of the video source controls is used to select the source video of the control.
Source videos are added to the Analysis using the Run manager's Video setup tab. Since the camera number 1 is always the full screen main video, you should select a value between 2 and 5 for this property to show the PIP videos.
In this example we use the first video source control to show the rear view camera. So set the "Mirror" property to 1 to turn on mirroring.
- Left: 672
- Top: 14
- Width: 576
- Height: 200
- Camera No: 2
- Mirror: 1
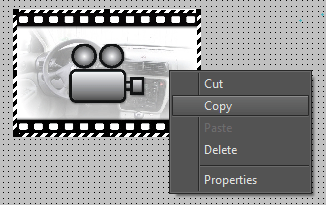
3. Create the second video source control by copying the first one.
- Copy the first control by using the right click context menu
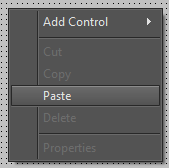
- Right click within the design area to open the context menu, and use the “Paste” command
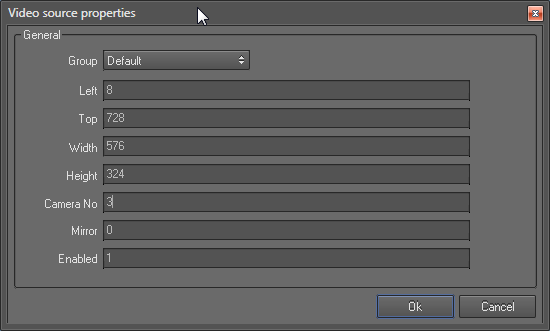
4. Change the property values of the second video source control as below.
- Left: 8
- Top: 728
- Width: 576
- Height: 324
- Camera No: 3

